Hello, fellow green thumbs and sustainable agriculture enthusiasts!
Welcome to the official blog of Ajomags Farm Limited!
Join our journey as we explore the wonders of greenhouse farming, soilless agriculture, and organic techniques. Let’s grow together and make a positive impact on food security in Nigeria!
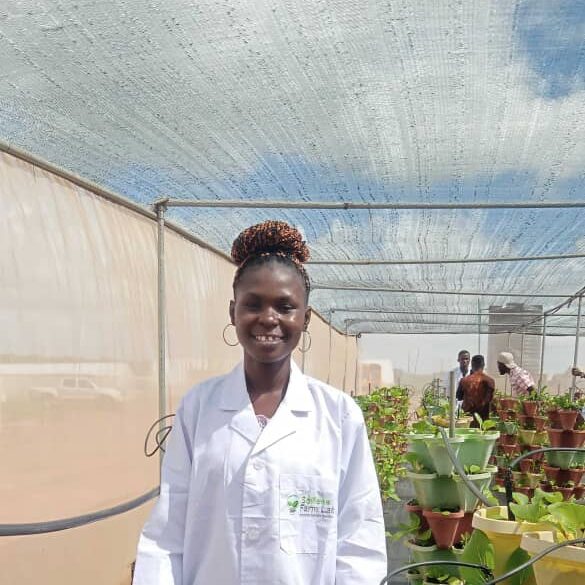
Ajomags Farm Limited
I am Aritetsoma Joy Opuro, the founder of Ajomags Farm, and I am thrilled to have you join us on this exciting journey towards sustainable agriculture and food security.
Our mission is to leverage the favorable weather conditions and abundant water resources in Delta State to address food insecurity and promote sustainable farming practices.
At Ajomags Farm, we specialize in soilless farming, particularly greenhouse farming, which allows us to grow fresh, healthy produce all year round.
Our commitment to innovation and sustainability drives us to continuously explore new methods and technologies to improve our farming practices and ensure the highest quality of produce for our community.
Through this blog, we aim to share our experiences, insights, and knowledge about sustainable farming.
You can expect to find a variety of content, including:
-Tips and Tricks: Practical advice on soilless farming and greenhouse management.
– Behind the Scenes: A glimpse into our daily operations and the hard work that goes into running Ajomags Farm.
-Success Stories: Inspiring stories of local farmers and how they are overcoming challenges.
– Community Initiatives: Updates on our efforts to support local farmers and enhance their safety.
We believe that by working together, we can create a more sustainable and secure food system for everyone. Your support and engagement are invaluable to us, and we look forward to building a strong community of like-minded individuals who share our passion for sustainable agriculture.
Thank you for being a part of Ajomags Farm.
Stay tuned for more updates, and feel free to reach out to us with any questions or suggestions.
Together, let’s grow a greener future!
Warm regards,
Aitetsoma Joy Opuro
Founder,
Ajomags Farm Limited
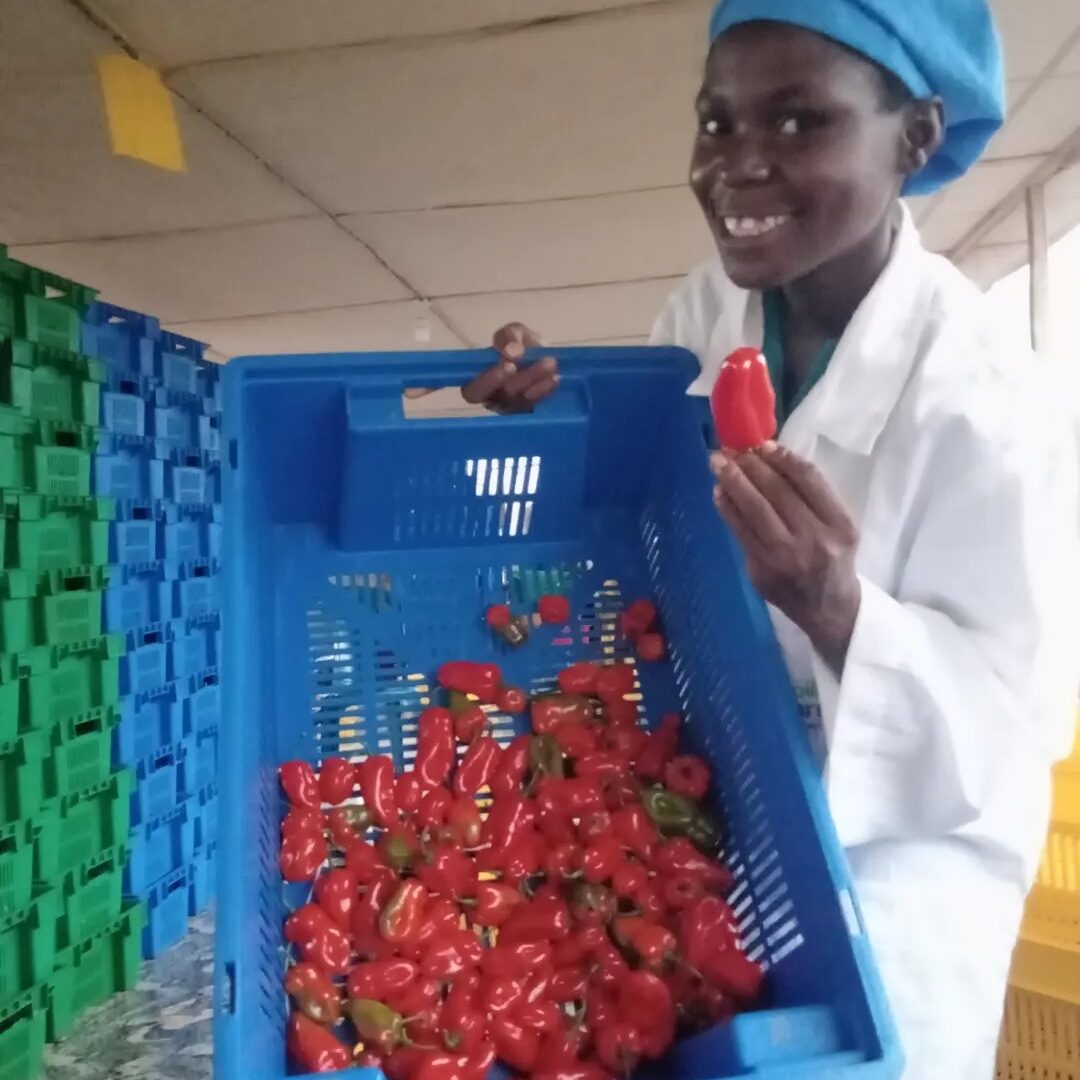
Pepper Guide
Tips for Growing Habanero Peppers in Nigeria
Growing habanero peppers can be a rewarding venture if you want to impress your neighbors with your gardening skills.
Let’s dive into some tips on how to grow habanero peppers in Nigeria!
- Choosing the Right Location
Finding the right spot for your habanero garden is crucial. Habaneros thrive in sunny locations, so select a spot that gets at least six hours of direct sunlight daily. It’s important to choose a well-drained area to prevent water accumulation after rain.
Tip: A south-facing garden is ideal, so try to avoid areas with abundant shade from trees or buildings.
- Preparing the Soil
Before planting, it’s essential to prepare the soil. Habaneros thrive in rich, well-draining soil with a pH level ideally between 6.0 and 6.8.
Steps for Preparation:
- Test your soil to determine its pH and nutrient content.
- Improve the soil by adding compost or well-rotted manure to enhance its fertility.
- Ensure the soil is loose and crumbly to facilitate root growth.
- Starting from Seeds or Seedlings
Deciding whether to start from seeds or seedlings can make a big difference.
If you choose seeds:
- Plant them indoors about 8-10 weeks before the last frost date.
- Use seed trays with quality potting soil and water them gently to keep the soil moist but not soggy.
If you opt for seedlings:
- Buy healthy seedlings from a reputable nursery for a head start.
- Watering Your Plants
Habanero peppers require consistent watering, especially in Nigeria’s warmer climate. However, avoid overwatering.
Watering Tips:
- Water the plants deeply at the base to prevent fungal diseases.
- Check the top inch of soil; if it’s dry, it’s time to water!
- Feeding Your Habaneros
Providing your plants with the right nutrients can greatly enhance their growth and yield. Using organic fertilizers can make a difference.
Feeding Schedule:
- Start with a balanced fertilizer when the plants are about 6 inches tall.
- Switch to a higher potassium fertilizer as they begin to flower to boost pepper production.
- Pest Management
Effective pest management is essential for a successful harvest.
Common Pests:
- Look out for aphids and caterpillars. Spraying neem oil can deter these pests without harming your plants.
- Introduce beneficial insects like ladybugs, which feed on aphids.
- Harvesting Your Peppers
The thrill of harvesting is perhaps the most exciting part of gardening. Habanero peppers usually take about 90-100 days to mature.
How to Tell When They’re Ready:
- Look for a brilliant orange or red color, indicating the peppers are ripe and flavorful.
- Gently twist the peppers off the plant with your fingers; be careful not to damage the stem.
“Nothing beats the satisfaction of enjoying a meal made with homegrown peppers!”
- Sharing Your Bounty
Once you start harvesting, share your delicious peppers with friends and neighbors. Consider hosting a small dinner party featuring meals with your peppers as a star ingredient.
Creative Uses:
- Make pepper sauces, add to stews, or spice up salsa. The options are endless!
Conclusion
Starting a habanero pepper garden in Nigeria is not only a fun and fulfilling project, but it can also bring a burst of flavor to your dishes and joy to your home. With the right location, care, and a bit of patience, you might soon find yourself sharing your peppery triumphs with your envious neighbors! So get planting and enjoy the spicy rewards of your hard work!
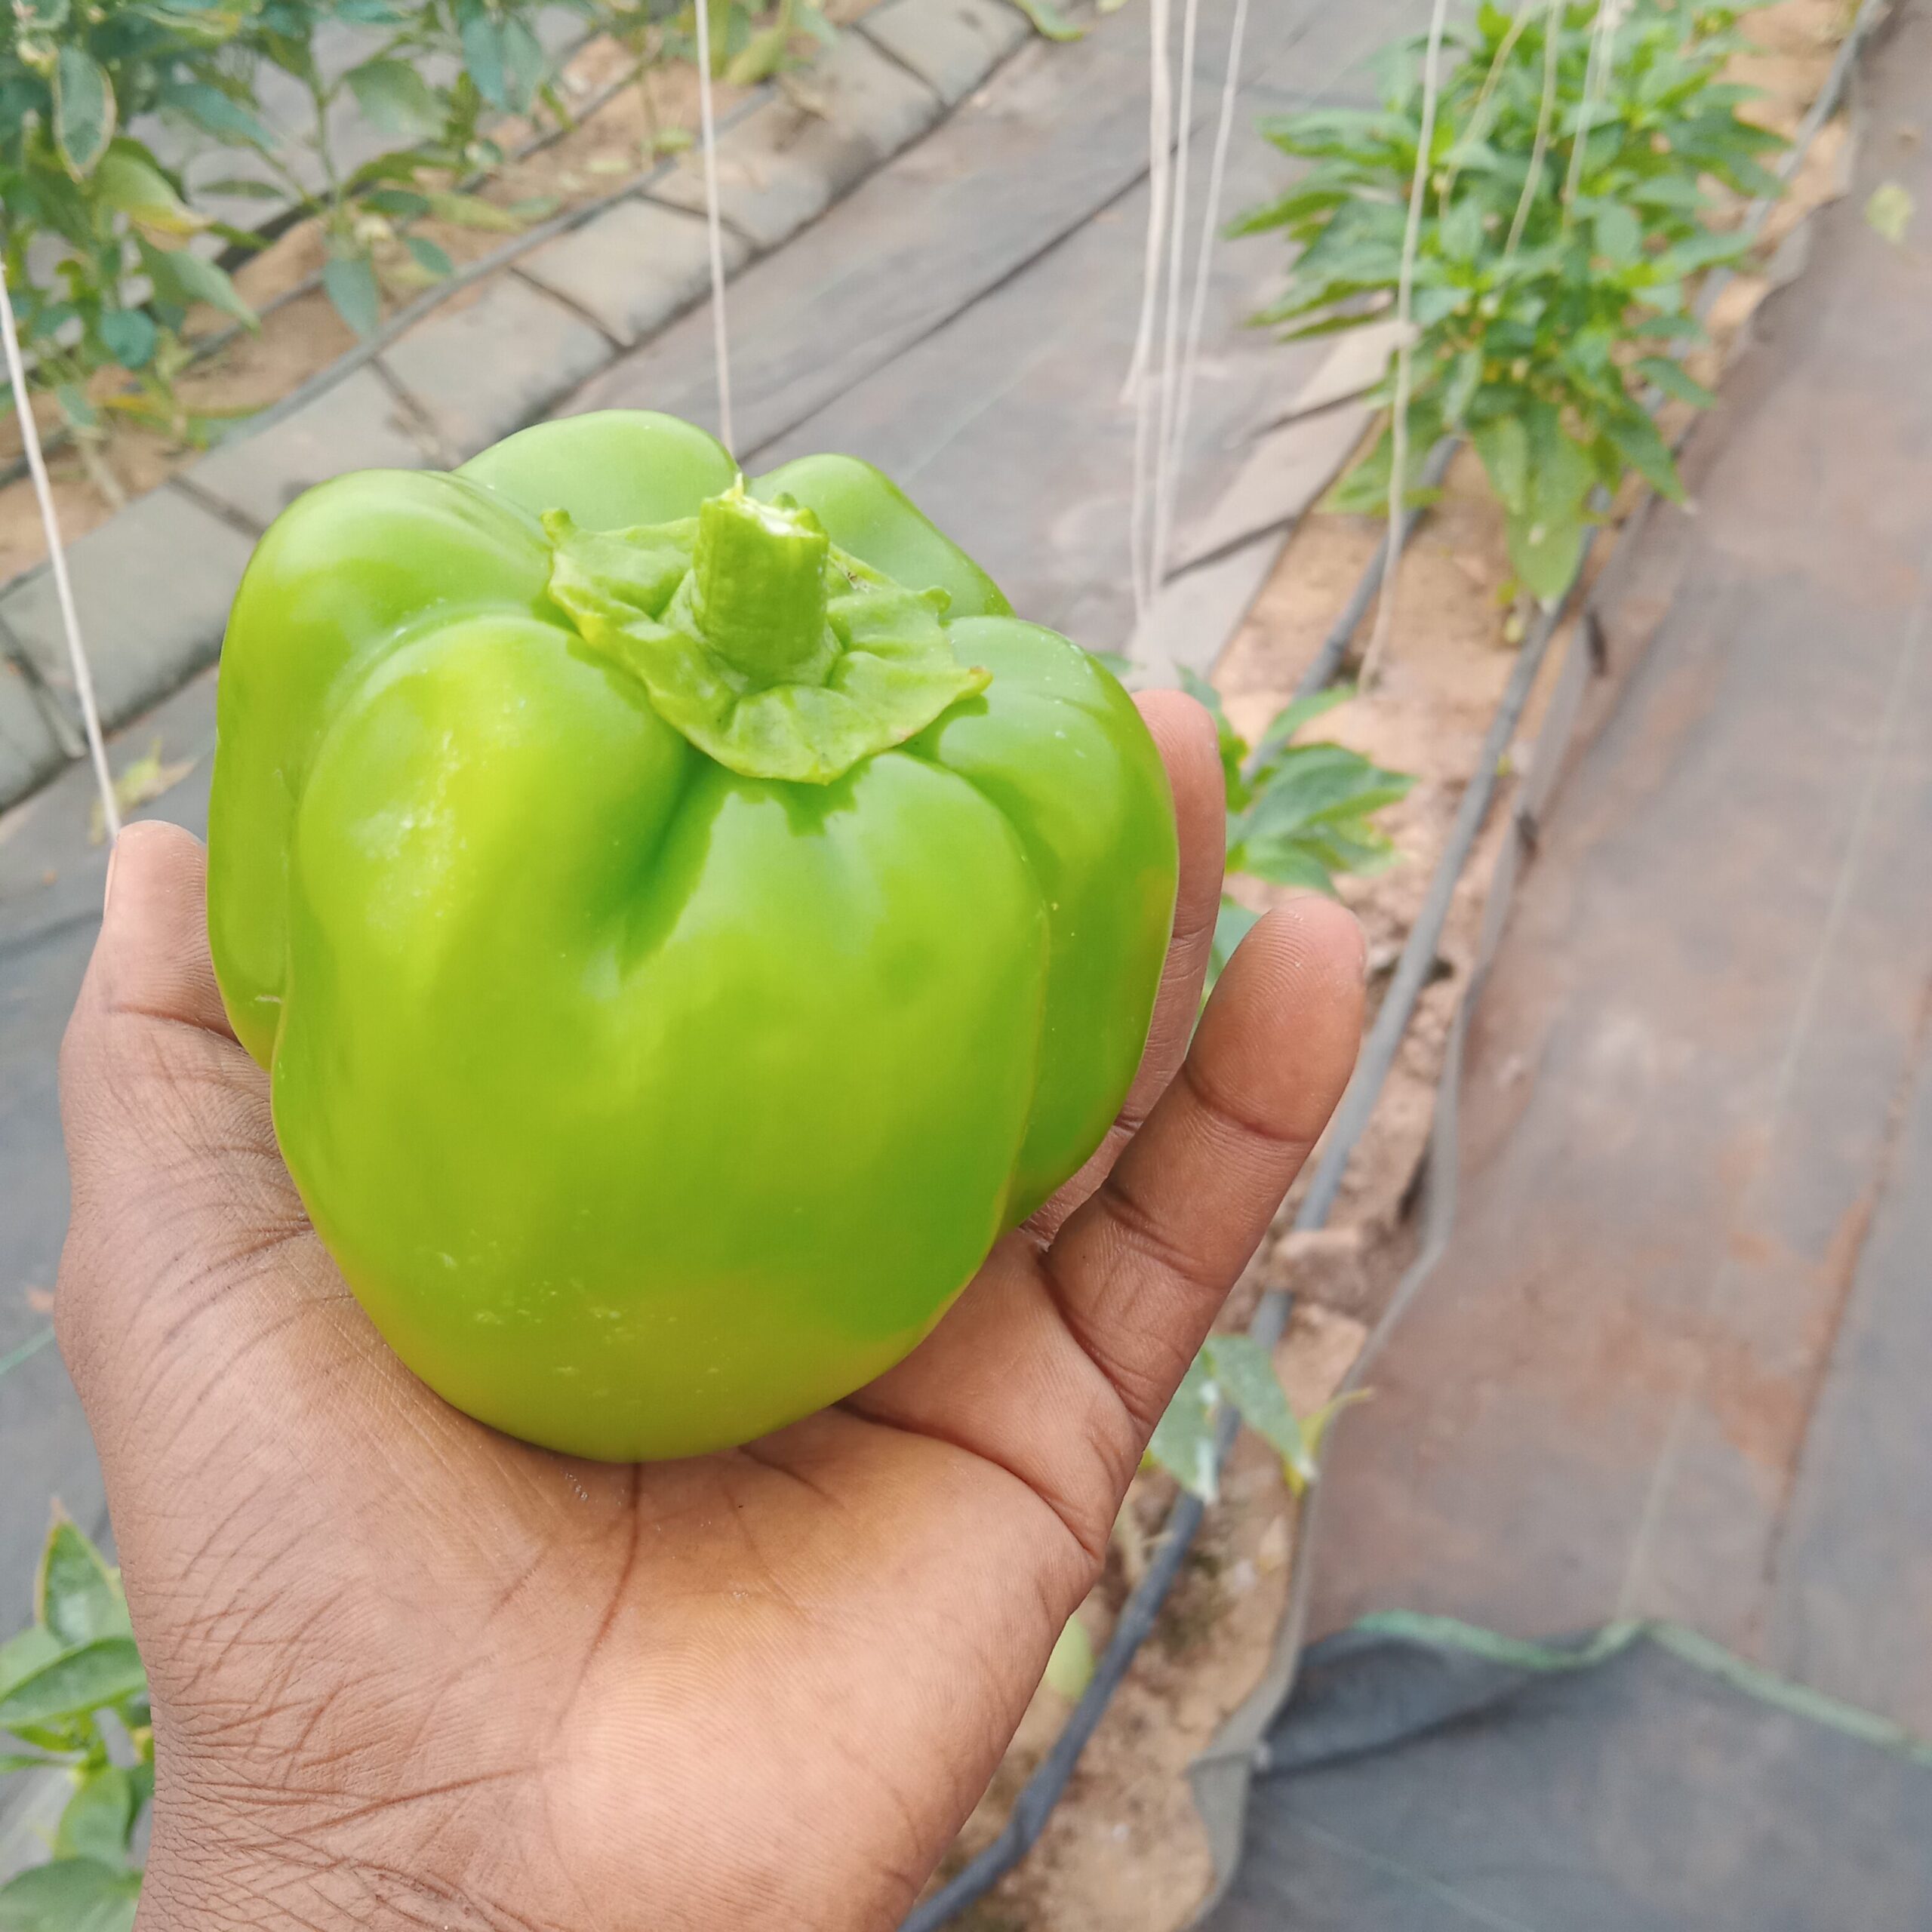
Bell Pepper Guide
Choosing the Right Variety Bell peppers come in various colors and sizes. Some popular varieties include:
– California Wonder: A classic green bell pepper that turns red when fully ripe.
– Yellow Bell pepper: Bright yellow and sweet when fully ripe.
Starting from Seeds Seed Selection: Choose high-quality seeds from a reputable supplier.
Germination: Start seeds indoors 8-10 weeks before the last frost date. Use seed trays filled with a seed-starting mix.
Temperature: Maintain a temperature of 70-80°F (21-27°C) for optimal germination.
Light: Provide 12-16 hours of light daily using grow lights or a sunny windowsill.
Transplanting Seedlings Timing: Transplant seedlings outdoors when they are 6-8 weeks old and after the last frost.
Location: Choose a sunny spot with at least 6-8 hours of direct sunlight daily.
Soil Preparation: Bell peppers prefer well-draining soil rich in organic matter. Amend the soil with compost or aged manure.
Spacing: Plant seedlings 18-24 inches apart in rows spaced 24-36 inches apart. Caring for Bell Pepper Plants
Watering: Keep the soil consistently moist but not waterlogged. Water deeply once or twice a week.
Mulching: Apply a layer of organic mulch around the plants to conserve moisture and suppress weeds.
Fertilizing: Use a balanced fertilizer (e.g., 10-10-10) every 4-6 weeks. Avoid excessive nitrogen, which can lead to lush foliage but fewer fruits.
Pruning: Remove any yellowing or diseased leaves to promote air circulation and reduce disease risk.
Pest and Disease Management Common Pests: Watch out for aphids, spider mites, and pepper weevils. Use insecticidal soap or neem oil as needed. Diseases: Prevent fungal diseases by ensuring good air circulation and avoiding overhead watering. Use disease-resistant varieties when possible.
Harvesting Timing: Bell peppers can be harvested when they reach their mature size and color. Green peppers are usually harvested first, but leaving them on the plant longer allows them to turn red, yellow, or orange.
Method: Use sharp scissors or a knife to cut the peppers from the plant, leaving a small stem attached.
Post-Harvest Handling Storage: Store bell peppers in the refrigerator for up to 2 weeks.
For longer storage, consider freezing or drying them.
Tips for Success:
Crops rotation: Avoid planting bell peppers in the same spot year after year to reduce the risk of soil-borne diseases.
Companion Planting: Plant bell peppers alongside basil, onions, or carrots to improve growth and deter pests.
Greenhouse Growing: Utilize greenhouse or soilless farming techniques to extend the growing season and improve yields.
By following these steps, you’ll be well on your way to growing healthy and productive bell pepper plants.
Happy farming!
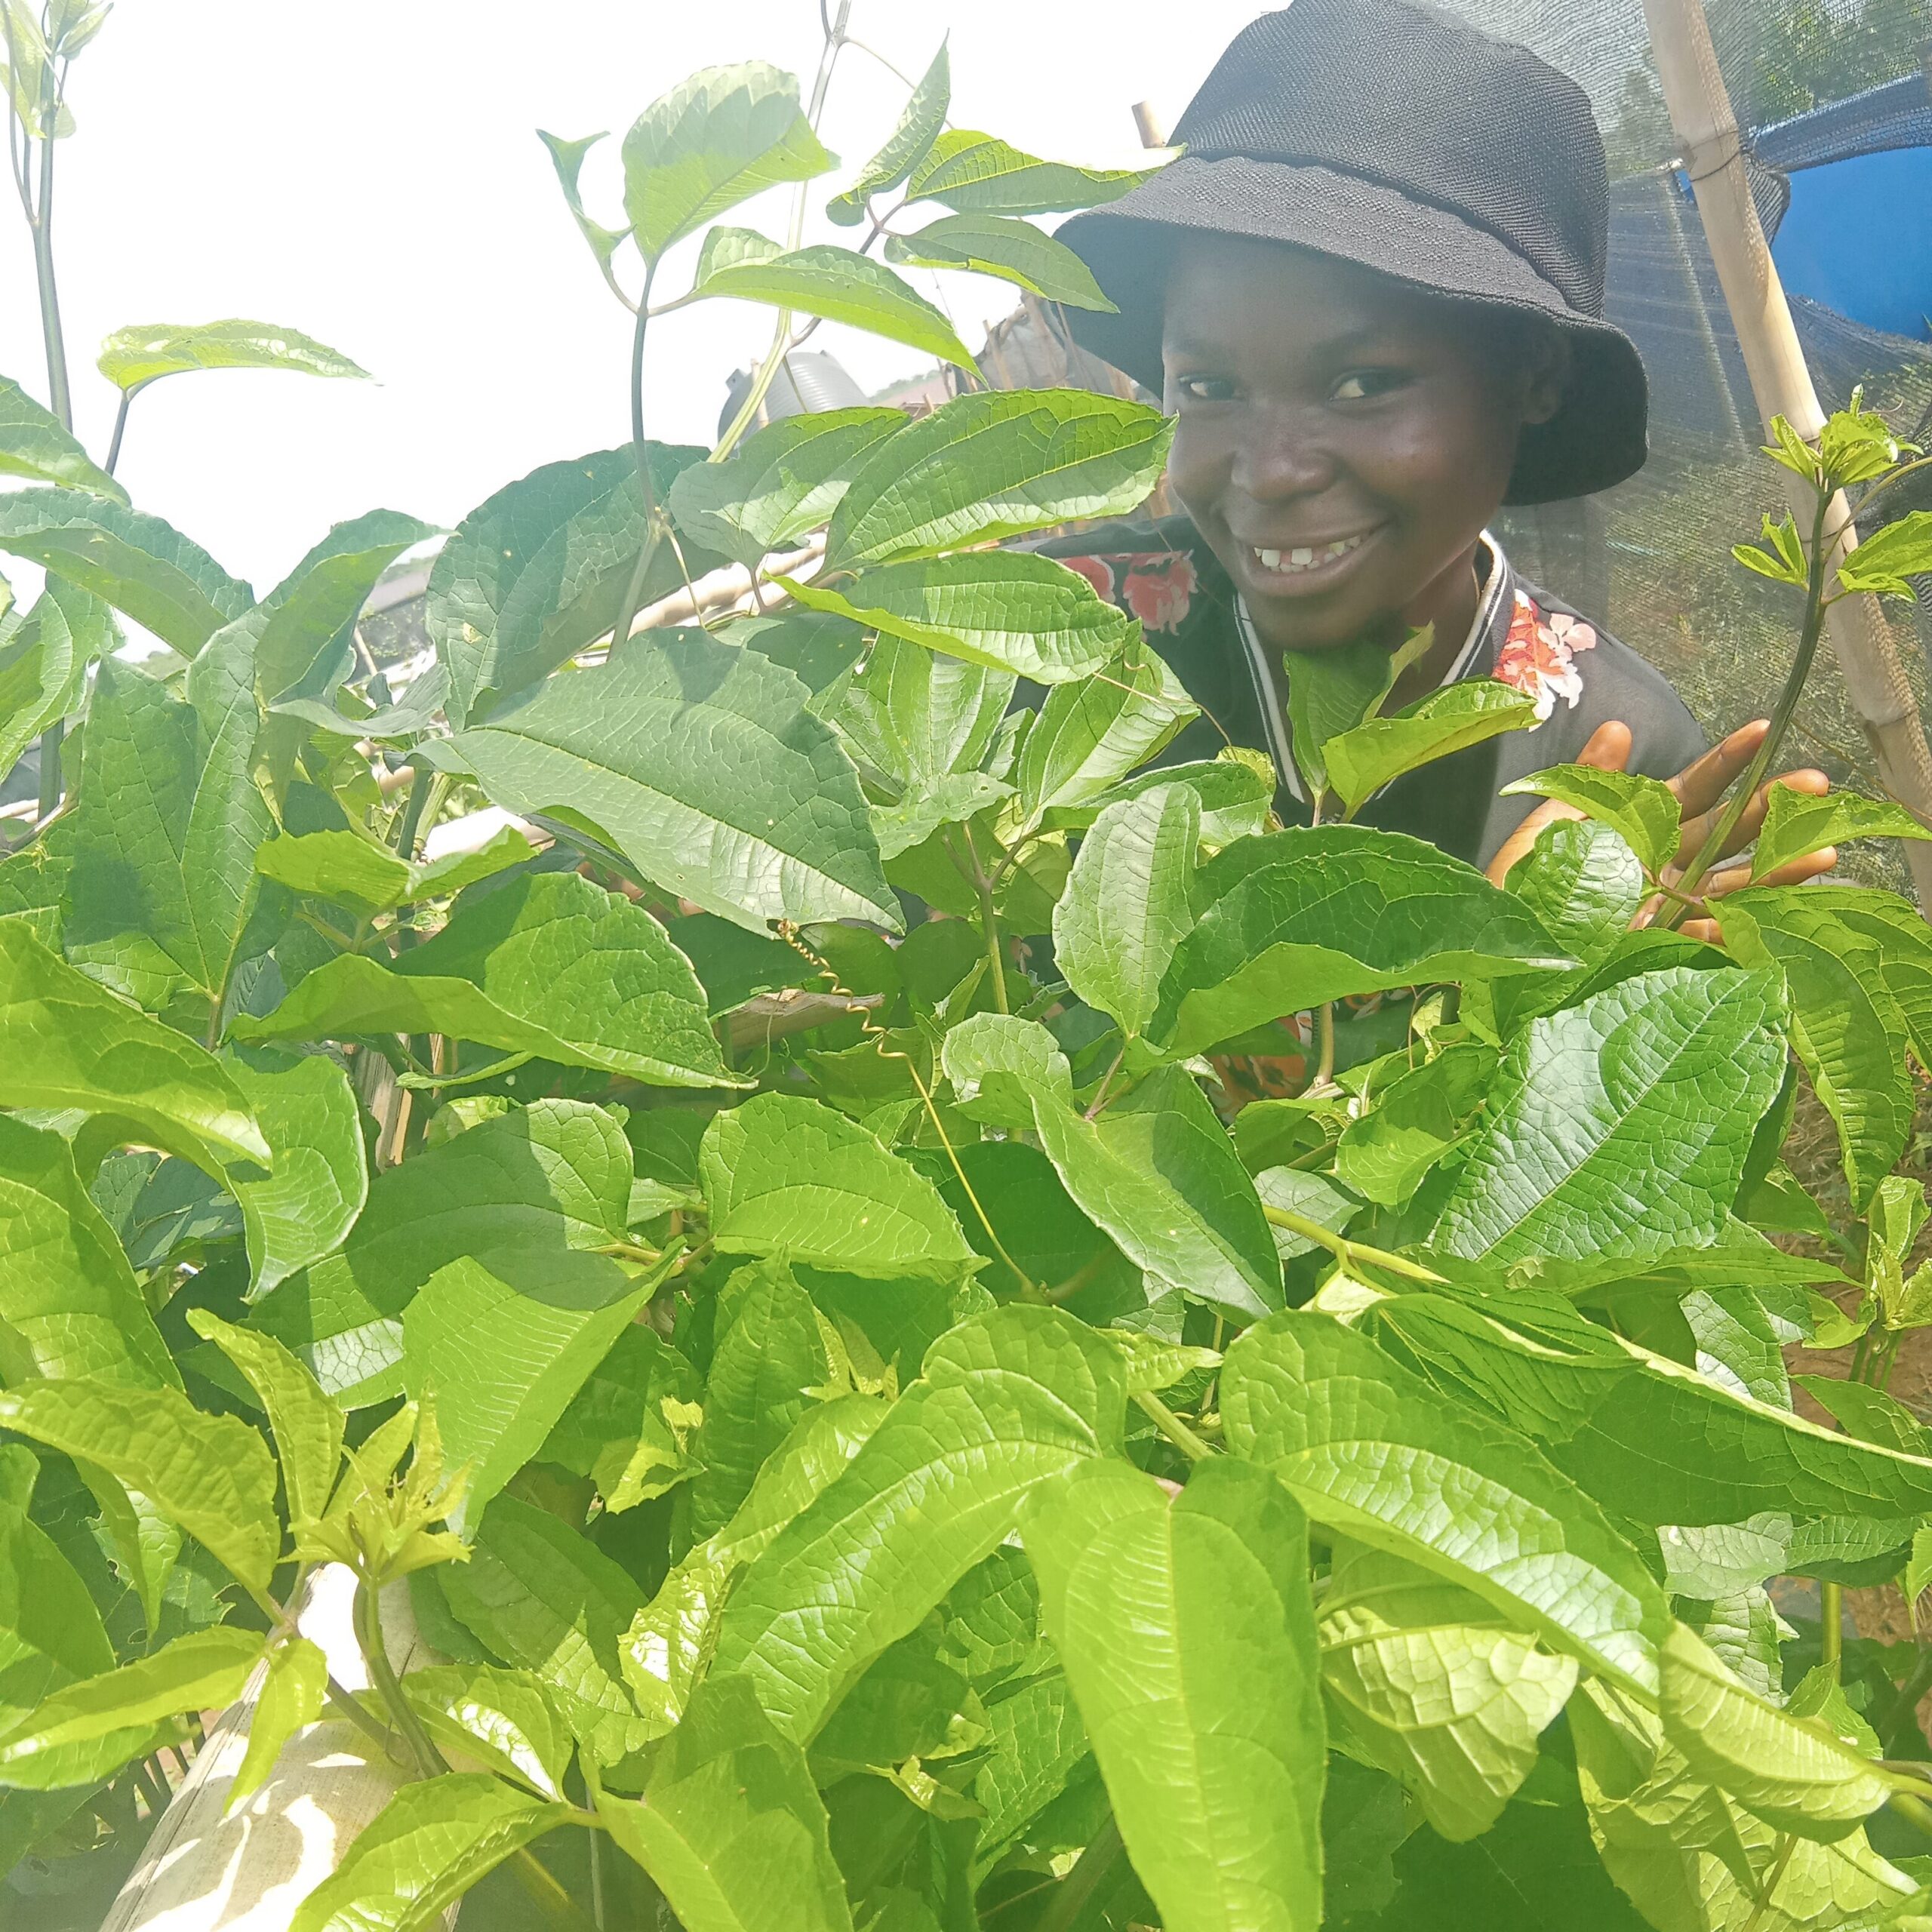
Ugu Guide
Growing ugu (fluted pumpkin) can be a rewarding experience, especially given its nutritional benefits and popularity in West African cuisine.
Here’s an ultimate guide to help you cultivate this versatile vegetable.
Understanding Ugu
Ugu, also known as fluted pumpkin or African spinach, is a fast-growing vine that thrives in warm climates. It prefers well-drained, fertile soil with a pH level between 6.0 and 7.0.
Choosing the Right Ugu Seeds or Cuttings
Seeds: Ugu seeds are small and black. You can sow them directly into the soil or start them in seed trays.
Cuttings: This method is faster and easier.
Select healthy stems from a mature plant, cut them into 6-8 inch sections, remove the leaves from the bottom 2 inches, and dip the cut ends in rooting hormone before planting in a well-drained potting mix.
Preparing the Soil: Clear the area and remove any weeds, grasses, or debris.
Till the Soil: Loosen the soil to a depth of about 12 inches using a garden fork or tiller.
Fertility: Enrich the soil with compost or well-rotted manure to improve fertility and drainage. Planting Ugu Seeds: Sow seeds about 1 inch deep and space them 12 inches apart. Cuttings: Plant cuttings in a well-drained potting mix, ensuring they are kept moist until they root. Care and Maintenance Watering: Keep the soil consistently moist but not waterlogged. Sunlight: Ensure the plants receive at least 6 hours of direct sunlight daily.
Fertilizing: Use a balanced fertilizer to promote healthy growth. Pest Control: Watch out for common pests like aphids and caterpillars. Use organic methods such as neem oil or insecticidal soap to control them. Harvesting Leaves: Harvest leaves as needed once the plant is well-established. Regular harvesting encourages new growth. Seeds: Allow some fruits to mature fully on the vine to collect seeds for future planting. Tips for Success Regular Monitoring: Keep an eye on your plants for any signs of stress or pest infestation. Succession Planting: Plant new seeds or cuttings every few weeks to ensure a continuous supply of fresh leaves. Companion Planting: Grow ugu alongside other crops like maize or beans to maximize space and improve soil health. By following these steps, you can enjoy a bountiful harvest of fresh, nutritious ugu leaves.
Happy farming!
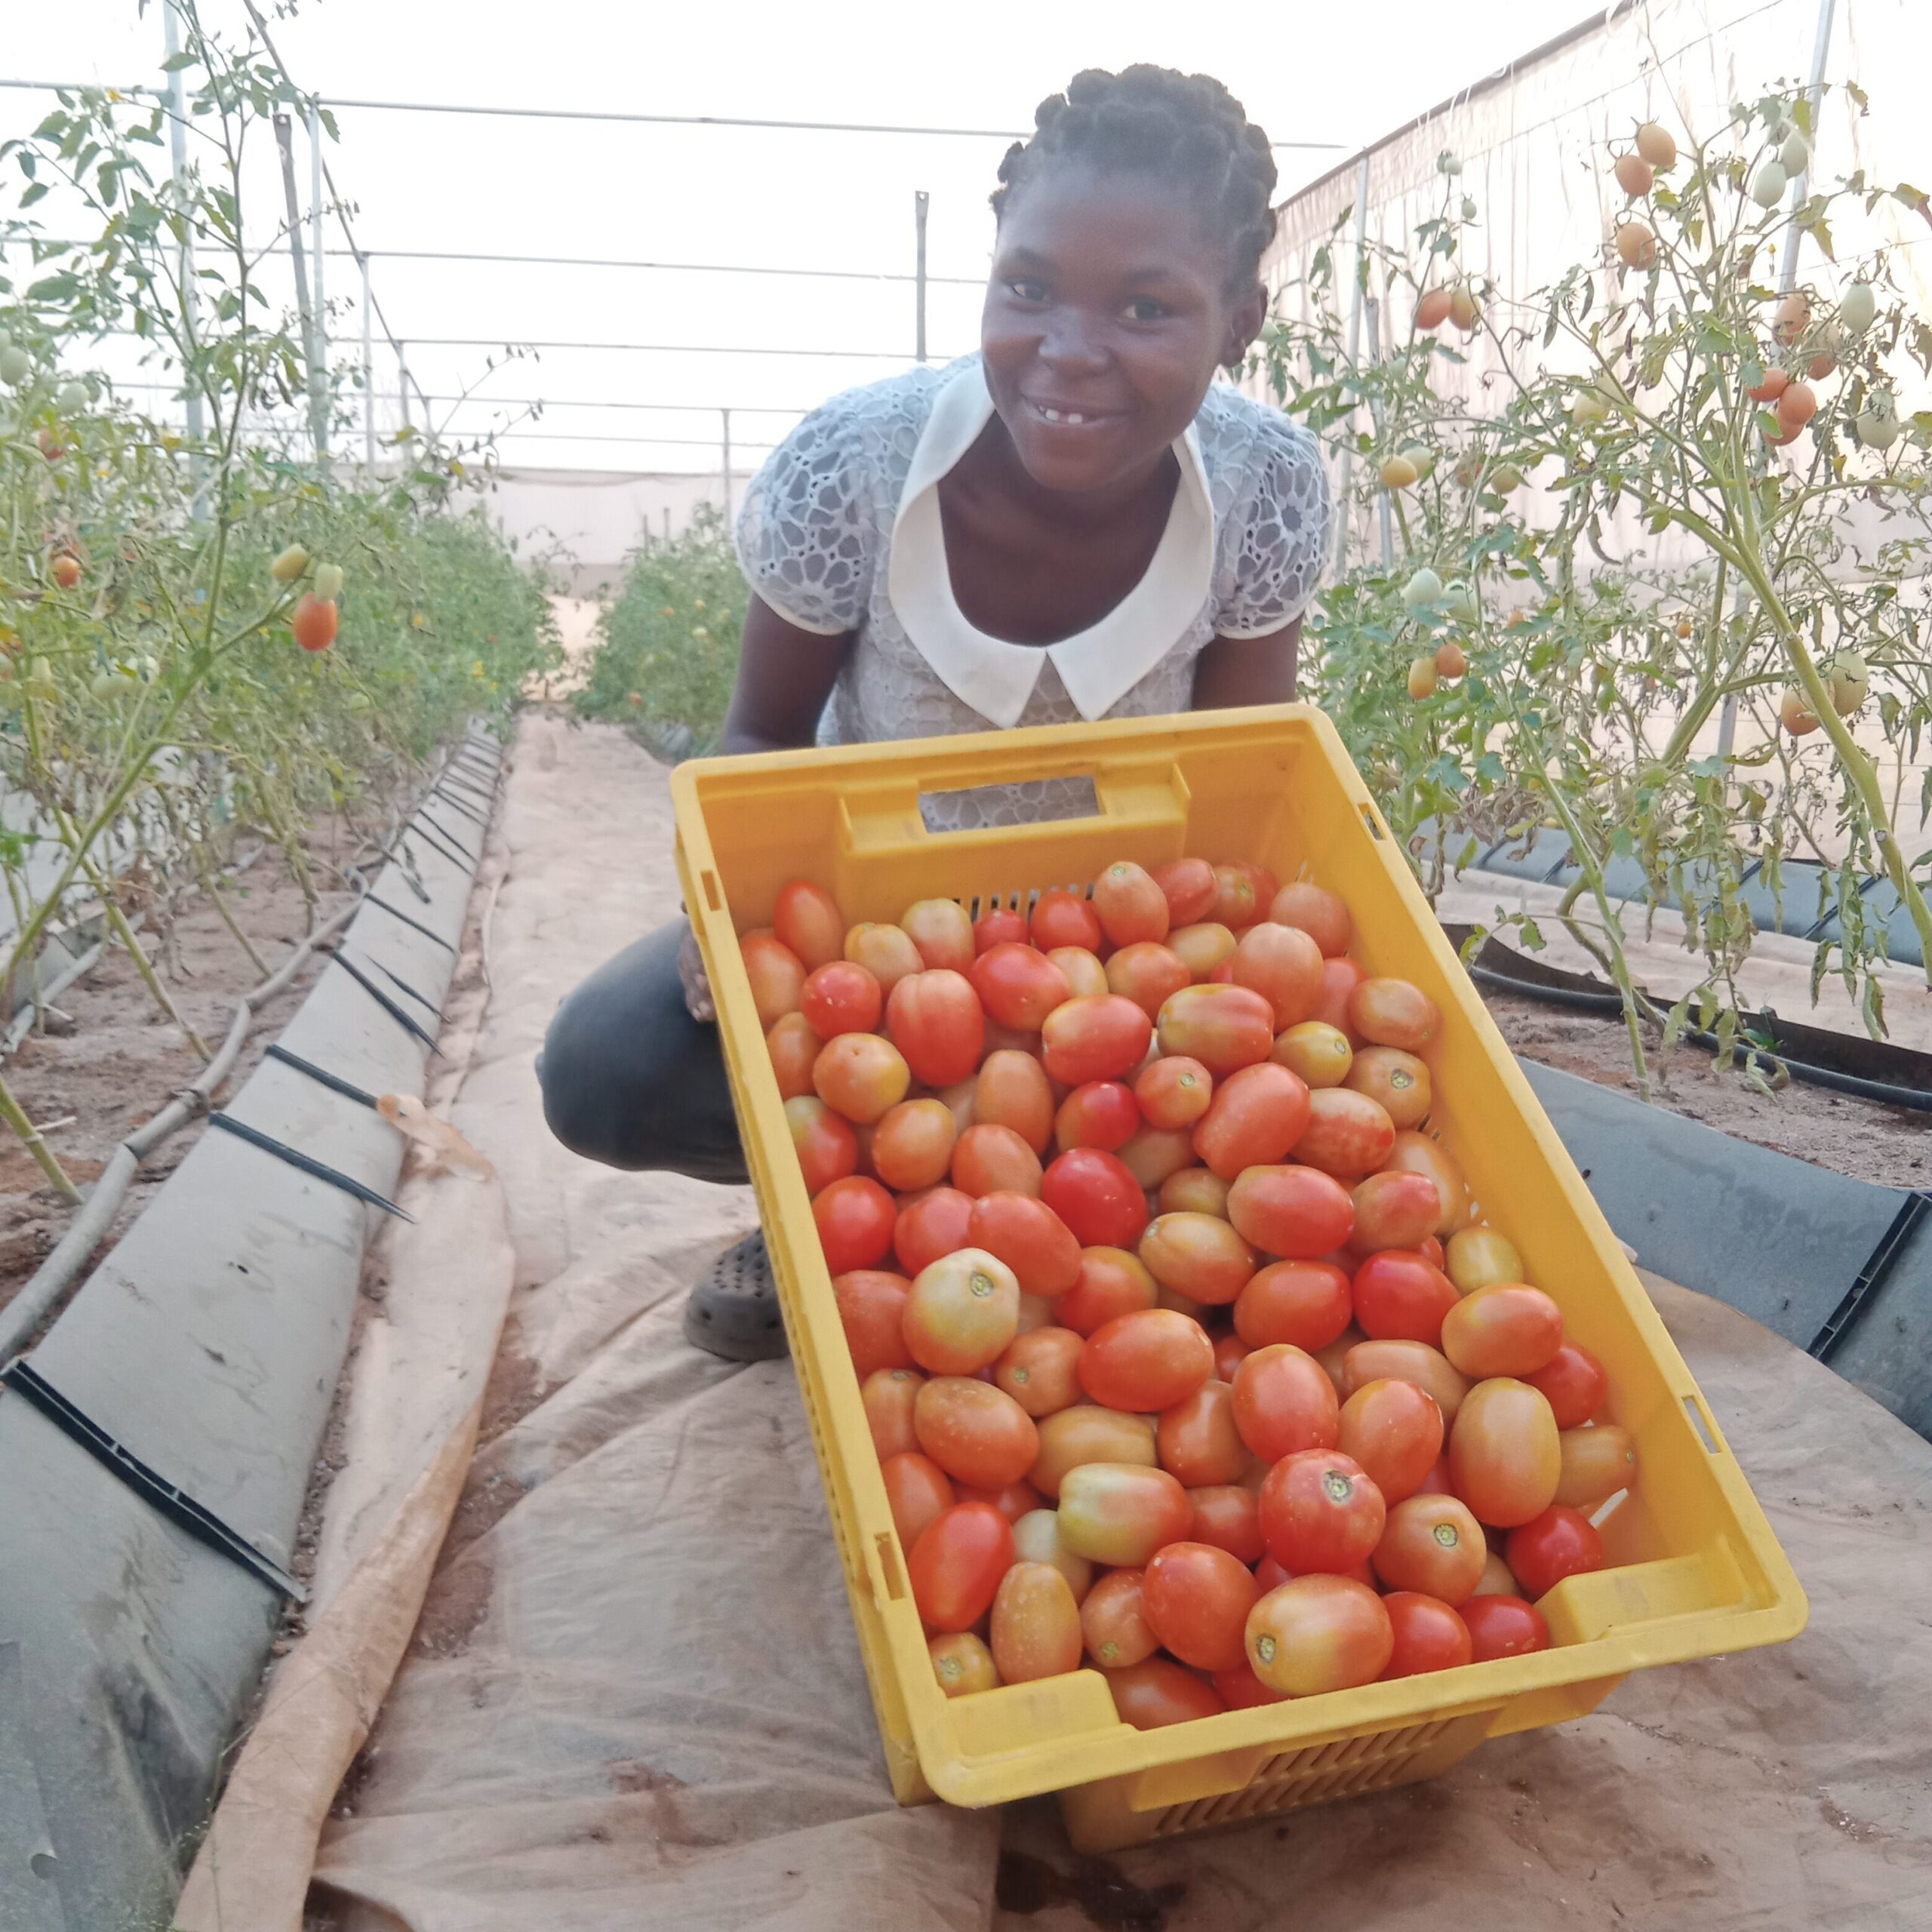
Tomato Guide
Choosing the Right Tomato Varieties for Nigeria When delving into the world of tomato gardening, selecting the right variety is crucial, especially in Nigeria’s diverse climate.
Consider these factors when choosing seeds: Popular Tomato Varieties
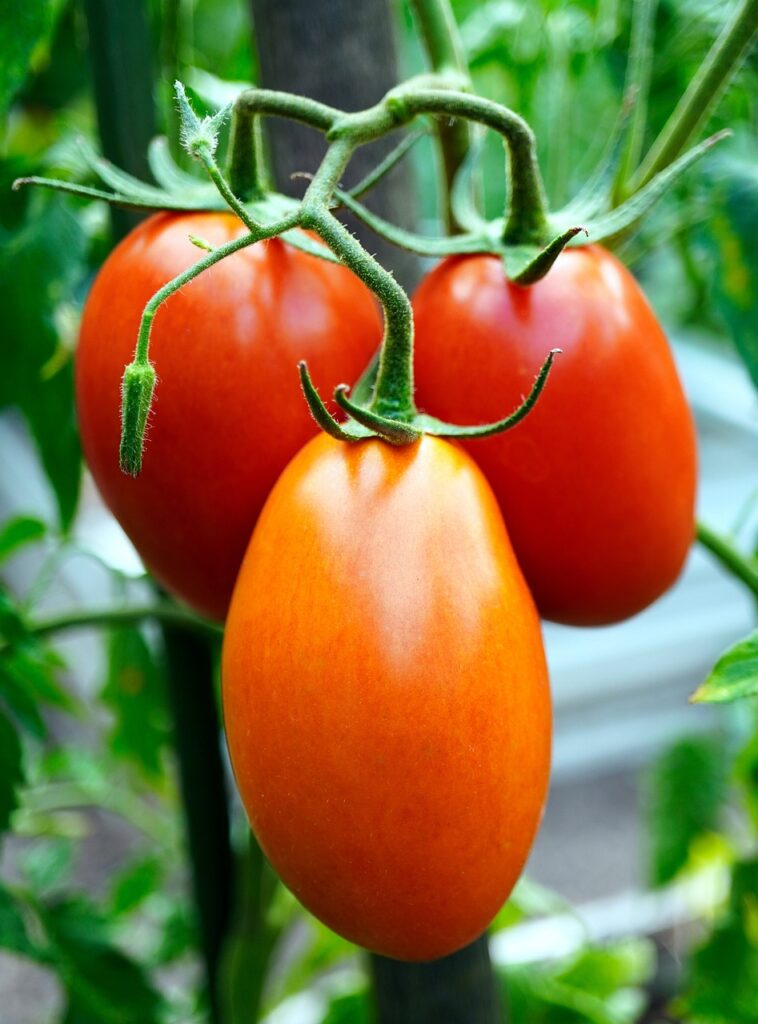
Roma Tomatoes – Great for sauces and canning, these are meaty and have fewer seeds.
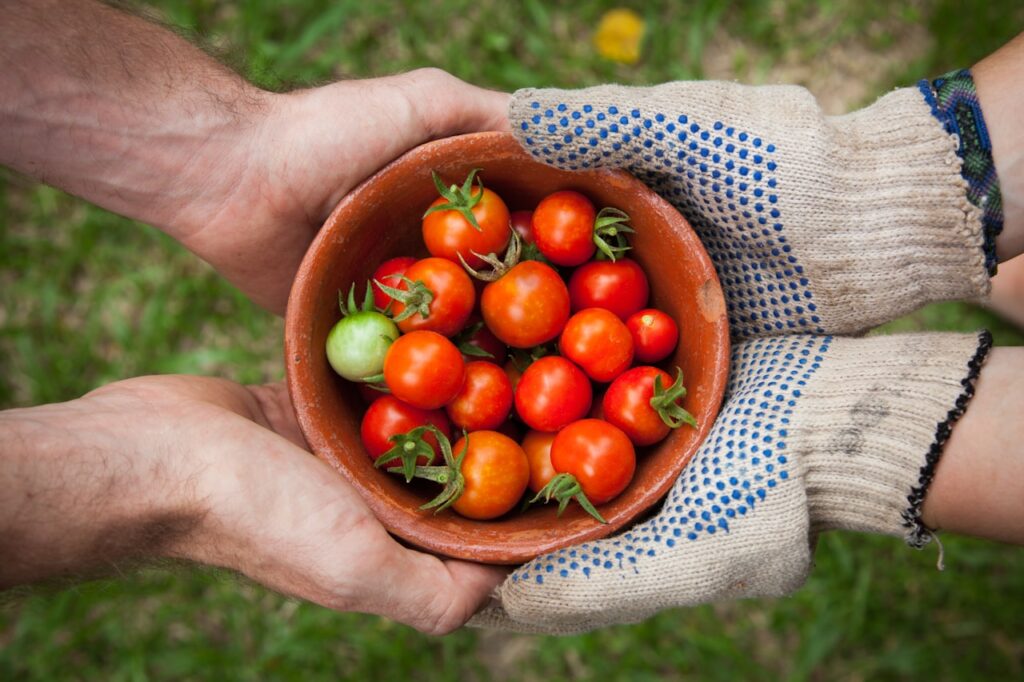
Cherry Tomatoes – Perfect for snacking, salad, or even to impress guests with their vibrant colors.
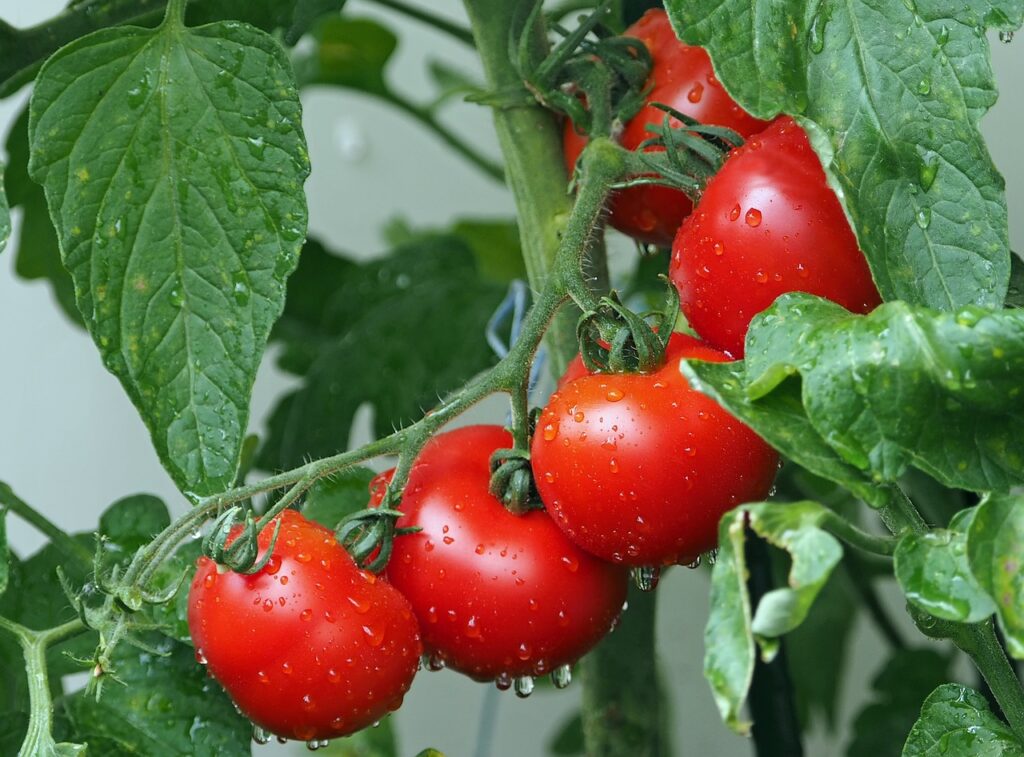
Beefsteak Tomatoes – Ideal for sandwiches, these large tomatoes have a sweet taste and juicy texture.
Tomatoes can thrive in different conditions, so take a moment to think about what you like to eat and where you’ll be planting them.
Maybe experiment with two or three varieties for a more colorful and exciting garden! Season Matters Make sure to plant during the right season, which in Nigeria is typically from March to June.
Enjoy the harvest from July to October. Timing your planting can lead to bigger, juicier tomatoes!
Preparing Your Soil:
Now that you’ve picked your varieties, it’s time to prepare the soil. Healthy soil leads to healthy tomatoes.
Here’s how to get started:
Soil Composition Tomatoes prefer loamy soil that retains moisture but allows for good drainage. Here’s a simple way to check your soil:
Testing Drainage: Dig a hole about 1 foot deep, fill it with water and see how long it takes to drain. If it drains too quickly, you might need to add some organic matter to improve retention.
Nutrient Boost: Mix in compost or well-rotted manure to create a rich environment for growth.
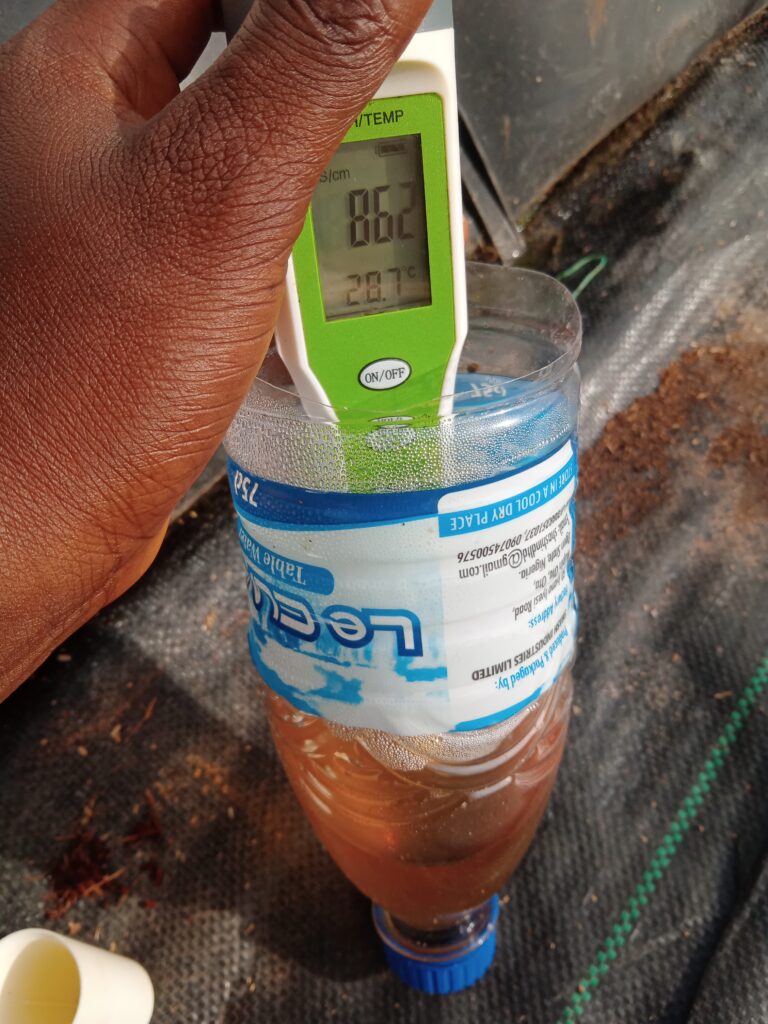
PH Level: Aim for a soil pH between 6.0 and 6.8. You can find inexpensive pH testing kits at local gardening stores.
Adjusting the pH can significantly enhance your tomato plants’ performance. Planting Your Tomatoes Once your soil is ready, it’s time to plant! This part is exhilarating, and here’s how to do it right.
Spacing Plant your tomatoes about 18 to 24 inches apart. Each plant needs room to grow and get enough sunlight. Overcrowding can lead to diseases.
Depth When planting seedlings, make sure to bury them deeply – up to the first set of leaves. This encourages strong root growth! Watering Wisely Tomatoes love water, but they don’t want to drown!
Here’s a friendly guide to ensure you’re watering just right: Frequency Consider watering deeply but less frequently.
A good rule of thumb is to water every 3 to 4 days, depending on rainfall. Signs of Thirst Watch for droopy leaves or dry soil. Just a few details could tell you if your plants are thirsty. Water early in the morning or late in the afternoon to avoid evaporation.
Fertilizing for Success Tomatoes are hungry plants!
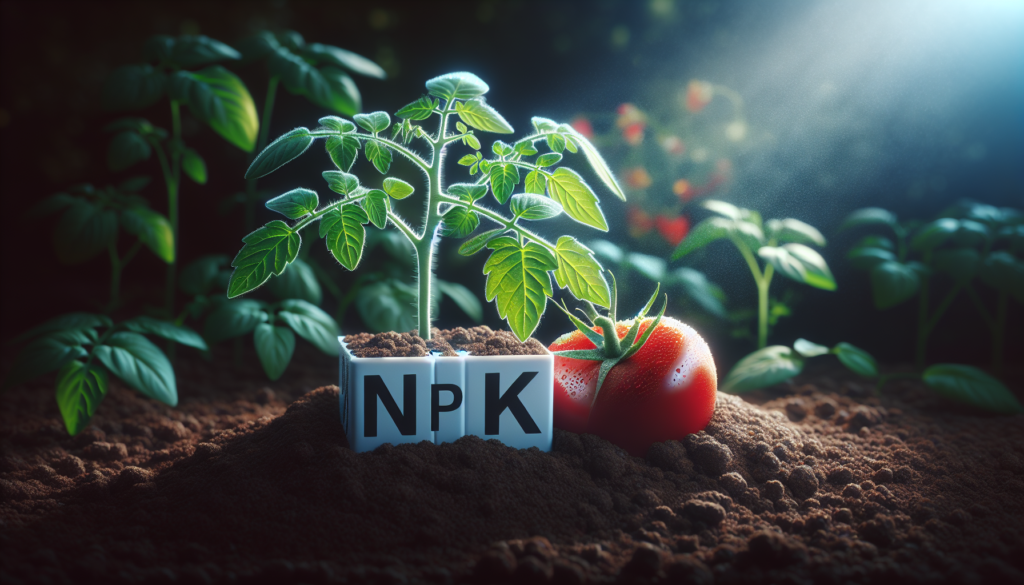
Here’s how to give them the nutrients they crave: Organic Options Using organic fertilizers can boost your tomato plants. Fish emulsion or seaweed extracts are fantastic options. These not only nourish your plants but are also gentle on the environment. Timing Fertilize every 4-6 weeks during the growing season. Your plants will thank you with bright green foliage and robust growth. Pests and Diseases Every farmer faces pests, but don’t worry! Here’s how you can manage them without much hassle
Common Pests
Tomato Hornworms – These pesky caterpillars can ravage your plants overnight. Hand-picking them is effective, or you can use natural insecticides. * Whiteflies – Small but mighty, they can appear in clusters. Sticky traps can help manage their population. Prevention Keep your garden clean and rotate your crops annually to reduce the chances of disease spreading. A little maintenance goes a long way! Harvesting Your Tomatoes Ah, the moment we’ve all been eagerly waiting for – harvesting! Here are the signs to look for: Color Matters Tomatoes should be fully colored, whether that’s red, yellow, or orange depending on the variety. Picking too early can affect taste.
Feel the Firmness Gently squeeze the tomatoes; they should feel firm but yield slightly under pressure. This combination signals they are ready for your kitchen.
Conclusion With a handful of good seeds, a little effort, and patience, you’ll have a thriving tomato farm/garden that will surely catch your neighbors’ attention. Remember, farming is a journey, and consistent care and learning will lead you to a bountiful harvest. So get those hands dirty, enjoy the fresh air, and watch your tomato plants grow.
Happy farming!
Lettuce Guide
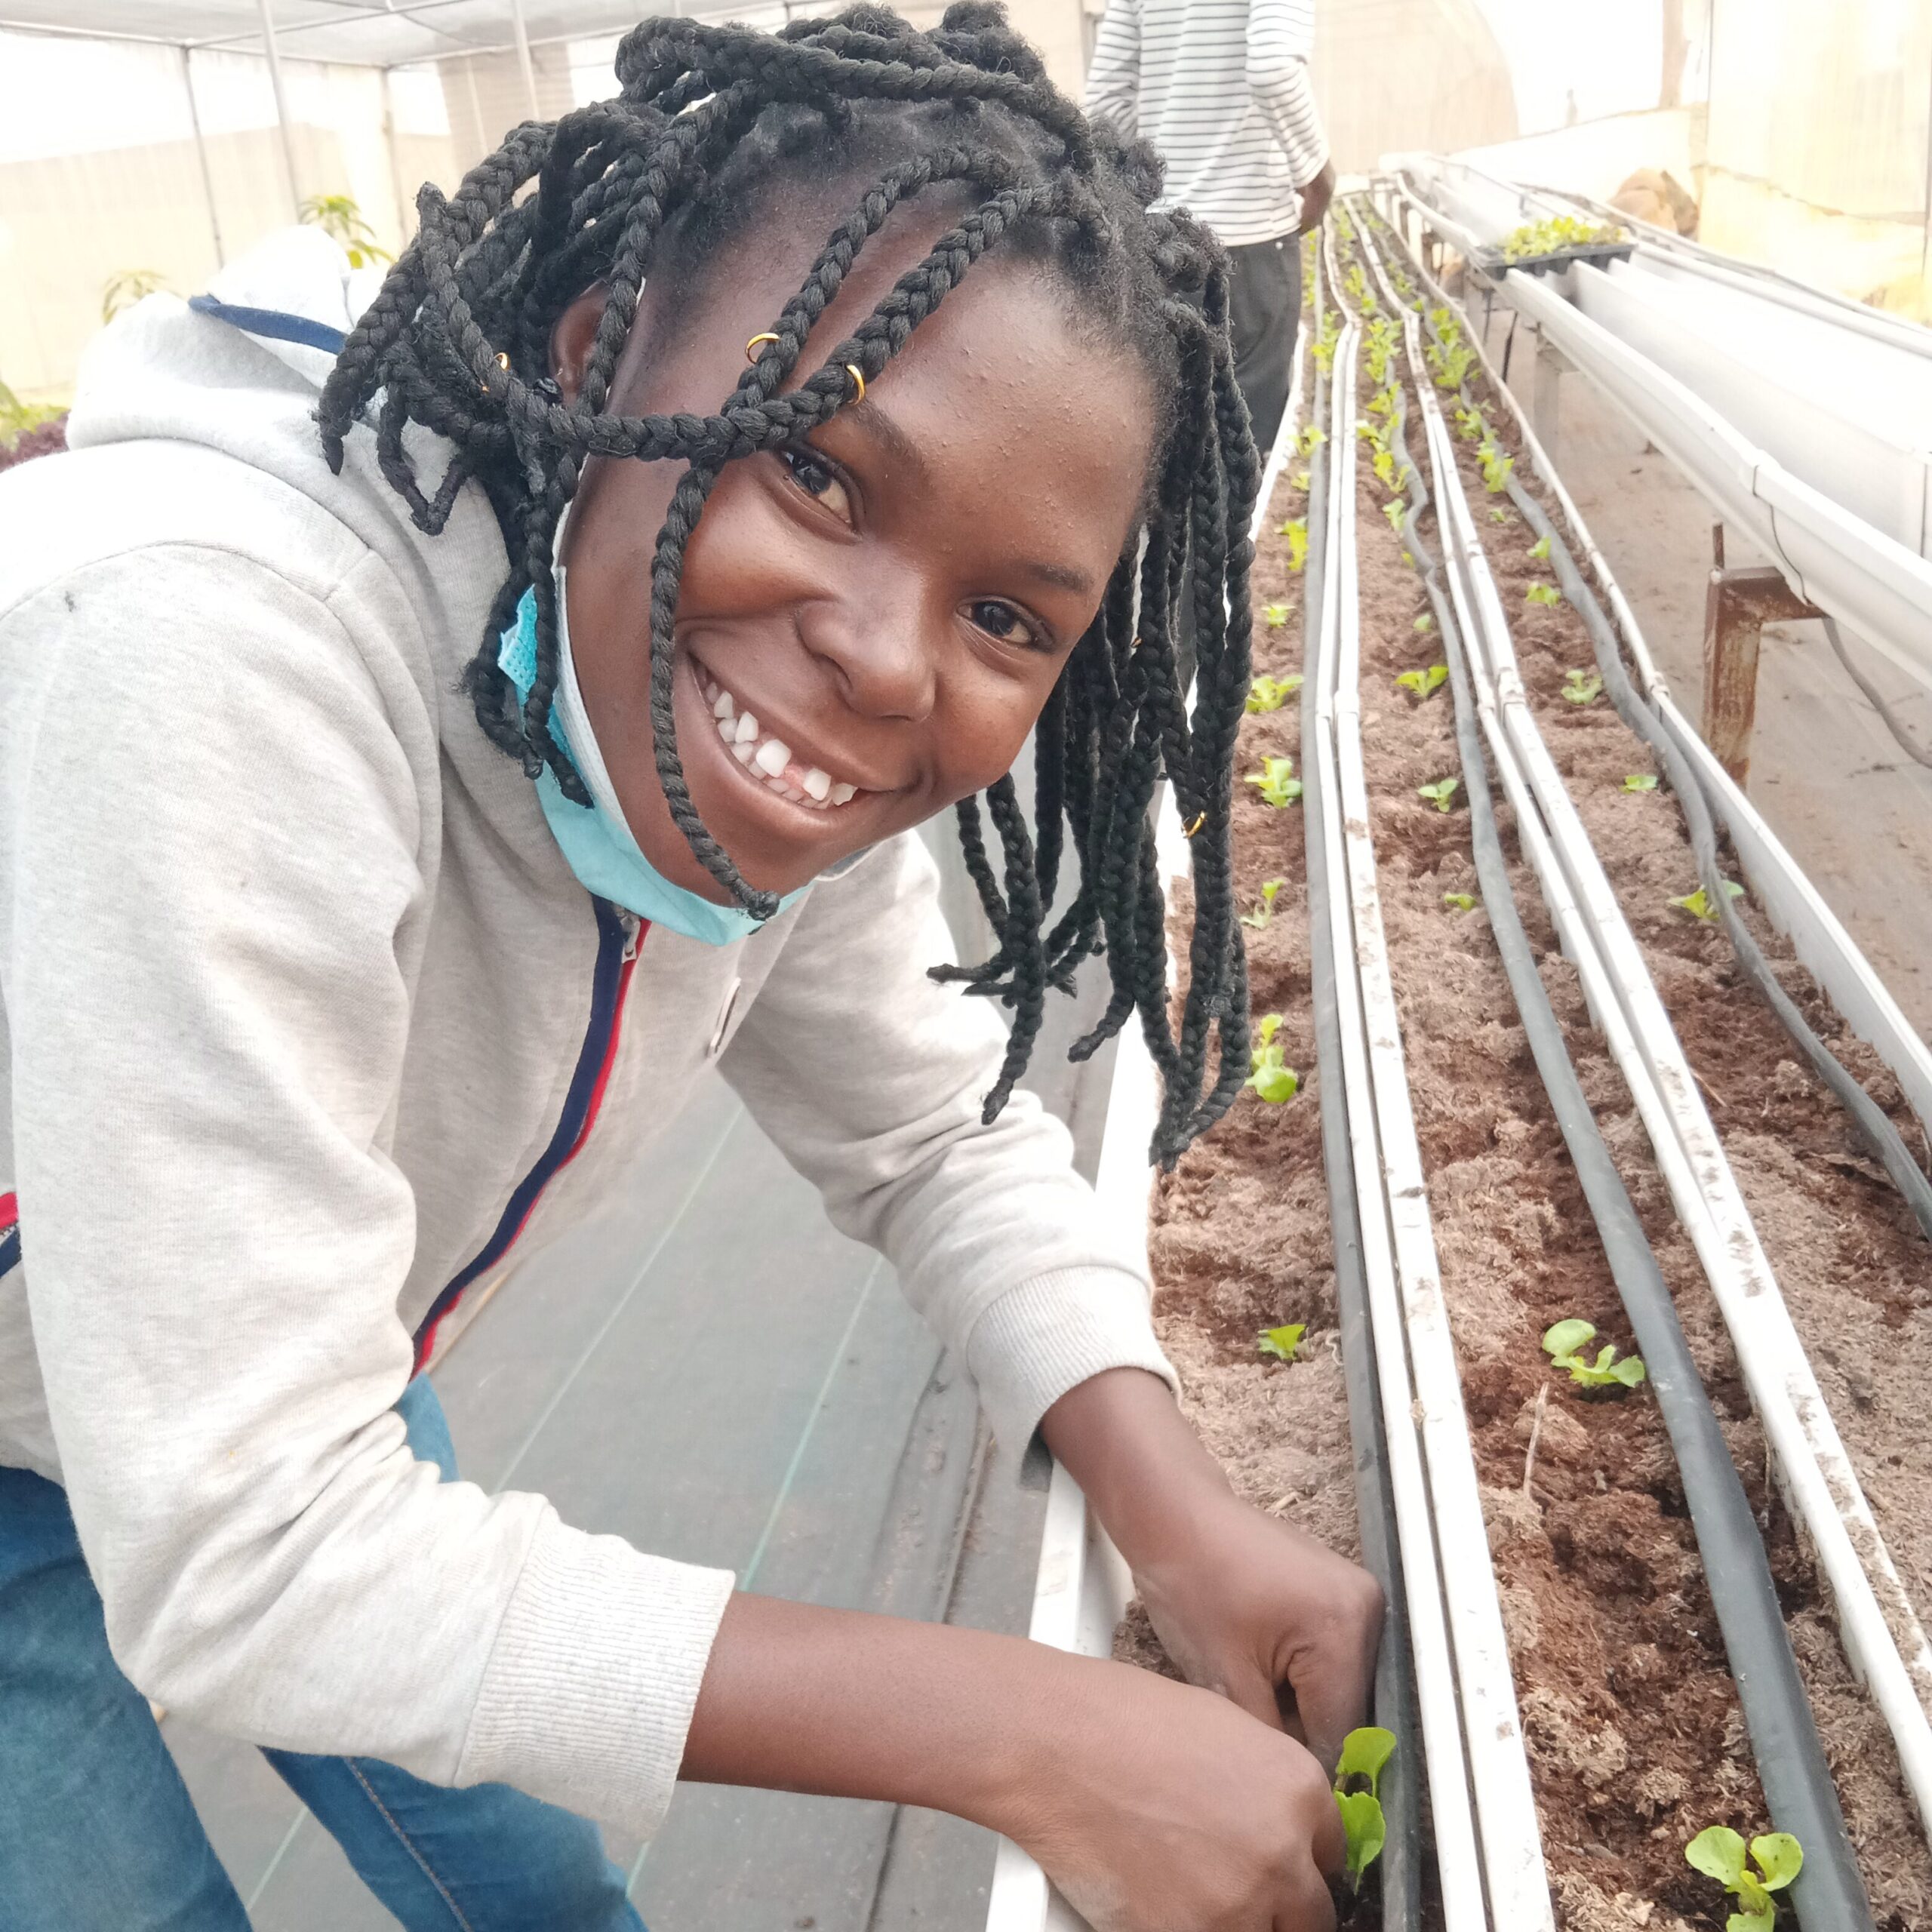
Growing lettuce can be a rewarding and straightforward process with quick return on investment.
Here’s an ultimate guide to help you cultivate crisp, fresh lettuce.
Types of Lettuce
1. Butterhead: Tender, buttery texture with a sweet flavor.
2. Romaine: Long, upright leaves with a robust flavor, perfect for Caesar salads.
3. Leaf Lettuce: Grows in loose bunches, available in various colors and shapes.
4. Iceberg: Forms tight, dense heads with a mild flavor and crisp texture. Preparing Your Garden or Containers Location: Lettuce thrives in full sun but can also grow in partial shade, especially in hot climates to prevent bolting.
Soil: Use loose, well-draining soil with a pH between 6.0 and 7.0. Adding compost can improve fertility and drainage.
Containers: If space is limited, use containers with drainage holes, at least 6 inches deep.
Sowing Seeds Depth: Plant seeds about a quarter to a half-inch deep, spaced about 8 inches apart.
Succession Planting: Sow a new crop every week to ensure a continuous harvest. Care and Maintenance
Watering: Keep the soil consistently moist but not waterlogged.
Shading: In hot weather, provide light shade to prevent bolting.
Pest Control: Watch out for slugs and snails. Use organic methods like beer traps or copper tape to deter them.
Harvesting Loose-Leaf Varieties: Harvest leaves as needed, allowing the plant to continue growing.
Hearting Varieties: Cut the whole head when mature, before it bolts. Tips for Success Regular
Sowing: Plant small batches regularly to avoid gluts and ensure continuous supply.
Freshness: Home-grown lettuce is fresher and more flavorful than store-bought versions.
By following these steps, you can enjoy a bountiful harvest of fresh, delicious lettuce right from your garden or containers. Happy gardening!

Cucumber Guide
Choosing the Right Variety Cucumbers come in various types, including:
– Slicing Cucumbers: Ideal for fresh eating. Varieties include ‘Marketmore’ and ‘Straight Eight’.
– Pickling Cucumbers: Smaller and great for pickling. Varieties include ‘Boston Pickling’ and ‘National Pickling’.
– Burpless Cucumbers: Known for their mild flavor and fewer seeds. Varieties include ‘Sweet Success’ and ‘Tasty Green’. Starting from Seeds.
Seed Selection: – Choose high-quality seeds from a reputable supplier. Germination: – Start seeds indoors 3-4 weeks before the last frost date. Use seed trays filled with a seed-starting mix.
Temperature: – Maintain a temperature of 70-85°F (21-29°C) for optimal germination. Light: – Provide 12-16 hours of light daily using grow lights or a sunny windowsill.
Transplanting Seedlings Timing: – Transplant seedlings outdoors when they are 3-4 weeks old and after the last frost. Location: – Choose a sunny spot with at least 6-8 hours of direct sunlight daily.
Soil Preparation: – Cucumbers prefer well-draining soil rich in organic matter. Amend the soil with compost or aged manure.
Spacing: – Plant seedlings 12-18 inches apart in rows spaced 3-4 feet apart. Caring for Cucumber Plants
Watering: – Keep the soil consistently moist but not waterlogged. Water deeply once or twice a week. Mulching: – Apply a layer of organic mulch around the plants to conserve moisture and suppress weeds. Fertilizing: – Use a balanced fertilizer (e.g., 10-10-10) every 4-6 weeks. Avoid excessive nitrogen, which can lead to lush foliage but fewer fruits. Trellising: – Train cucumber vines to grow vertically on a trellis to save space and improve air circulation. Pest and Disease Management Common Pests: – Watch out for aphids, cucumber beetles, and spider mites. Use insecticidal soap or neem oil as needed. Diseases: – Prevent fungal diseases by ensuring good air circulation and avoiding overhead watering. Use disease-resistant varieties when possible. Harvesting Timing: – Cucumbers can be harvested when they reach their mature size and color. Regular harvesting encourages more fruit production. Method: – Use sharp scissors or a knife to cut the cucumbers from the plant, leaving a small stem attached. Post-Harvest Handling Storage: – Store cucumbers in the refrigerator for up to 2 weeks. For longer storage, consider pickling or making cucumber relish. Usage: – Cucumbers are versatile and can be used in salads, pickles, smoothies, and more. Tips for Success in Nigeria Site Selection: – Choose a site with sandy loamy soil and good access to water. Ensure the soil pH is between 5.5 and 6.7. Climate: – Cucumbers thrive in temperatures between 18-35°C. They can tolerate temperatures up to 40°C but may suffer from flower abortion if it’s too hot. Business Plan: – Develop a business plan that includes expected costs, revenue, and profit. This helps in managing resources effectively. Irrigation: – Ensure consistent watering, especially during dry spells. Drip irrigation is ideal for conserving water and providing consistent moisture.
Marketing: – Identify your target market and plan your sales strategy in advance to avoid post-harvest losses. By following these steps, you’ll be well on your way to growing healthy and productive cucumber plants. Happy farming!
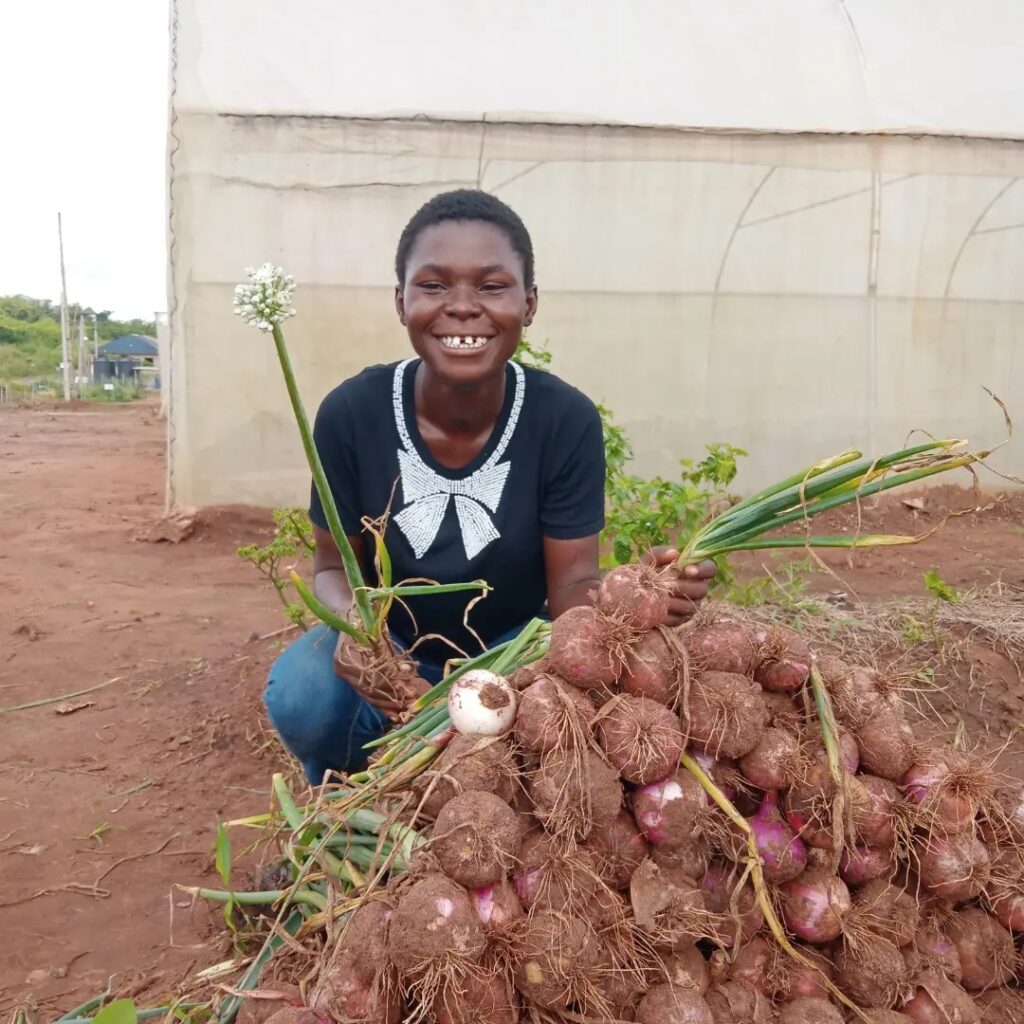
Onion Guide
Raising onion Seedlings
- Onion is propagated by seed (fresh)
- Seed rate is 0.8 – 1.2 kg per acre and is
sown in a nursery under a mulch cover
Nursery Establishment:
- Prepare beds maximum 1 m wide and
incorporate well-decomposed compost /FYM
20 kg/m2 and add DAP/TSP 20 g/m2 - Make rows about 15 cm apart, drill the seed thinly in 1cm furrows and cover lightly with
soil and mulch - Germination takes 7-10days
Nursery Management:
- Irrigate the nursery bed regularly
- After the seed emerges, remove the mulch
- Prepare a raised cover
- Manage weeds, pests and diseases
